
Contents
- I. Introduction to Homemade Pina Colada Popsicles
- II. Benefits of Making Pina Colada Popsicles at Home
- III. Essential Ingredients for Homemade Pina Colada Popsicles
- IV. Step-by-Step Guide to Making Homemade Pina Colada Popsicles
- V. Variations and Additions to Homemade Pina Colada Popsicles
- VI. Tips and Tricks for Perfect Homemade Pina Colada Popsicles
- VII. Frequently Asked Questions about Homemade Pina Colada Popsicles
- 1. Can I substitute the coconut milk with any other liquid?
- 2. Are these popsicles suitable for vegans?
- 3. Can I add chunks of fruit to the popsicle mixture?
- 4. How long do these homemade popsicles take to freeze?
- 5. Can I use canned pineapple instead of fresh pineapple?
- 6. How long do homemade pina colada popsicles last in the freezer?
- 7. Is it necessary to use rum in this recipe?
- 8. Can I double or halve the recipe?
- 9. Are these popsicles kid-friendly?
- 10. Can I use frozen pineapple instead of fresh?
I. Introduction to Homemade Pina Colada Popsicles
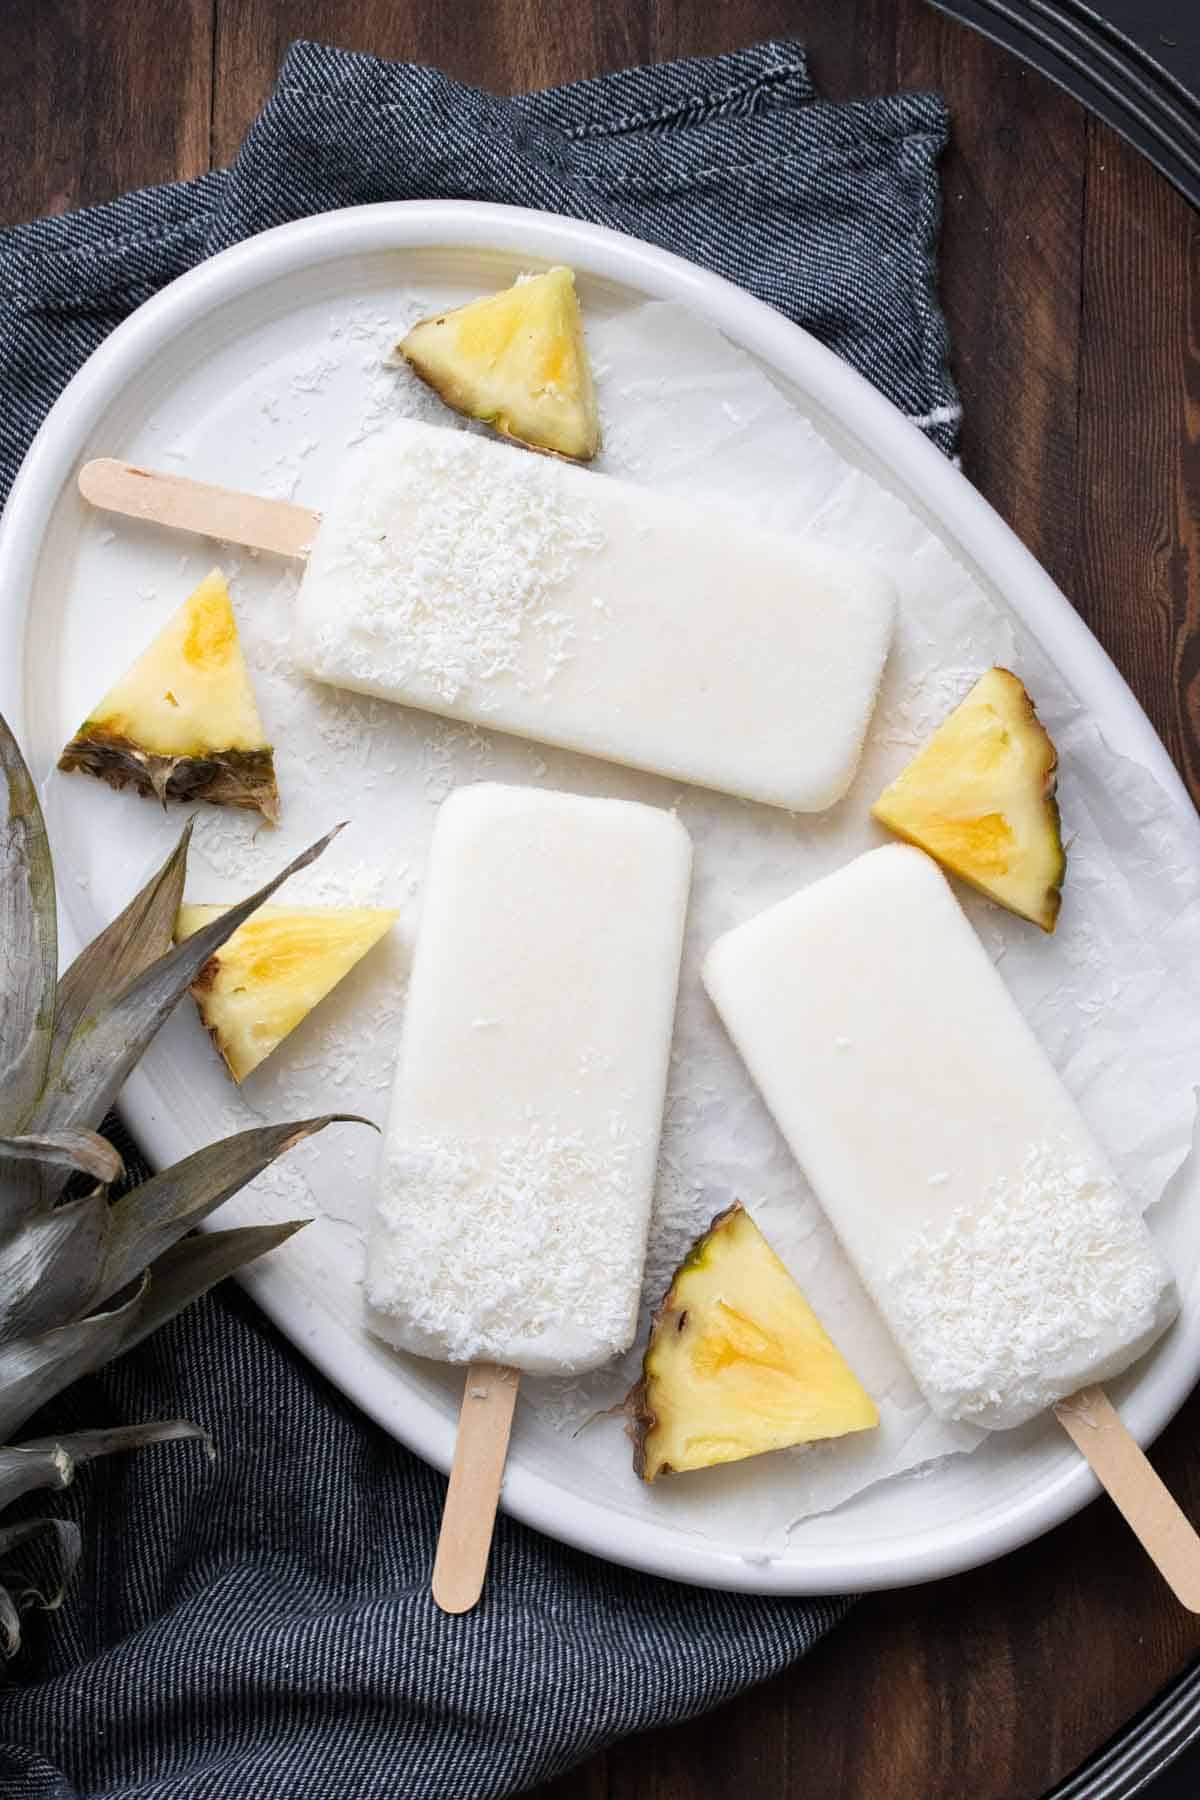
Are you ready to beat the summer heat with a refreshing tropical treat? Look no further than homemade Pina Colada popsicles! These delightful frozen treats bring together the flavors of juicy pineapples, creamy coconut milk, and a hint of rum (optional) for an irresistible combination that will transport you straight to a sunny beach paradise.
Making your own Pina Colada popsicles is not only easy but also allows you to control the ingredients and customize them according to your preferences. Whether you’re hosting a summer party or simply craving something sweet and tangy, these popsicles are sure to be a hit with both kids and adults alike.
A. Gather Your Ingredients
To get started on your homemade Pina Colada popsicles, gather the following ingredients:
- 1 cup of fresh pineapple chunks
- 1 can (400 ml) of coconut milk
- 2 tablespoons of honey or agave syrup (adjust according to sweetness preference)
- 1 tablespoon of lime juice
- A splash of rum (optional)
B. Blend Until Smooth
In a blender, combine the pineapple chunks, coconut milk, honey or agave syrup, lime juice, and rum if desired. Blend until smooth and well combined. The mixture should have a creamy consistency with small bits of pineapple for added texture.
C. Pour into Popsicle Molds
Pour the blended mixture into popsicle molds, leaving some space at the top for expansion as they freeze. If you don’t have popsicle molds on hand, small paper cups or ice cube trays can work just as well. Insert popsicle sticks into the molds, ensuring they are centered and upright.
D. Freeze and Enjoy
Place the filled popsicle molds in the freezer for at least 4-6 hours or until fully frozen. Once ready, run warm water over the molds for a few seconds to loosen the popsicles and gently remove them from their molds. Now it’s time to sit back, relax, and enjoy your homemade Pina Colada popsicles!
These tropical delights are perfect for cooling down on hot summer days or as a delightful dessert after a barbecue feast. You can even get creative with your toppings by sprinkling shredded coconut or adding a drizzle of chocolate sauce before serving.
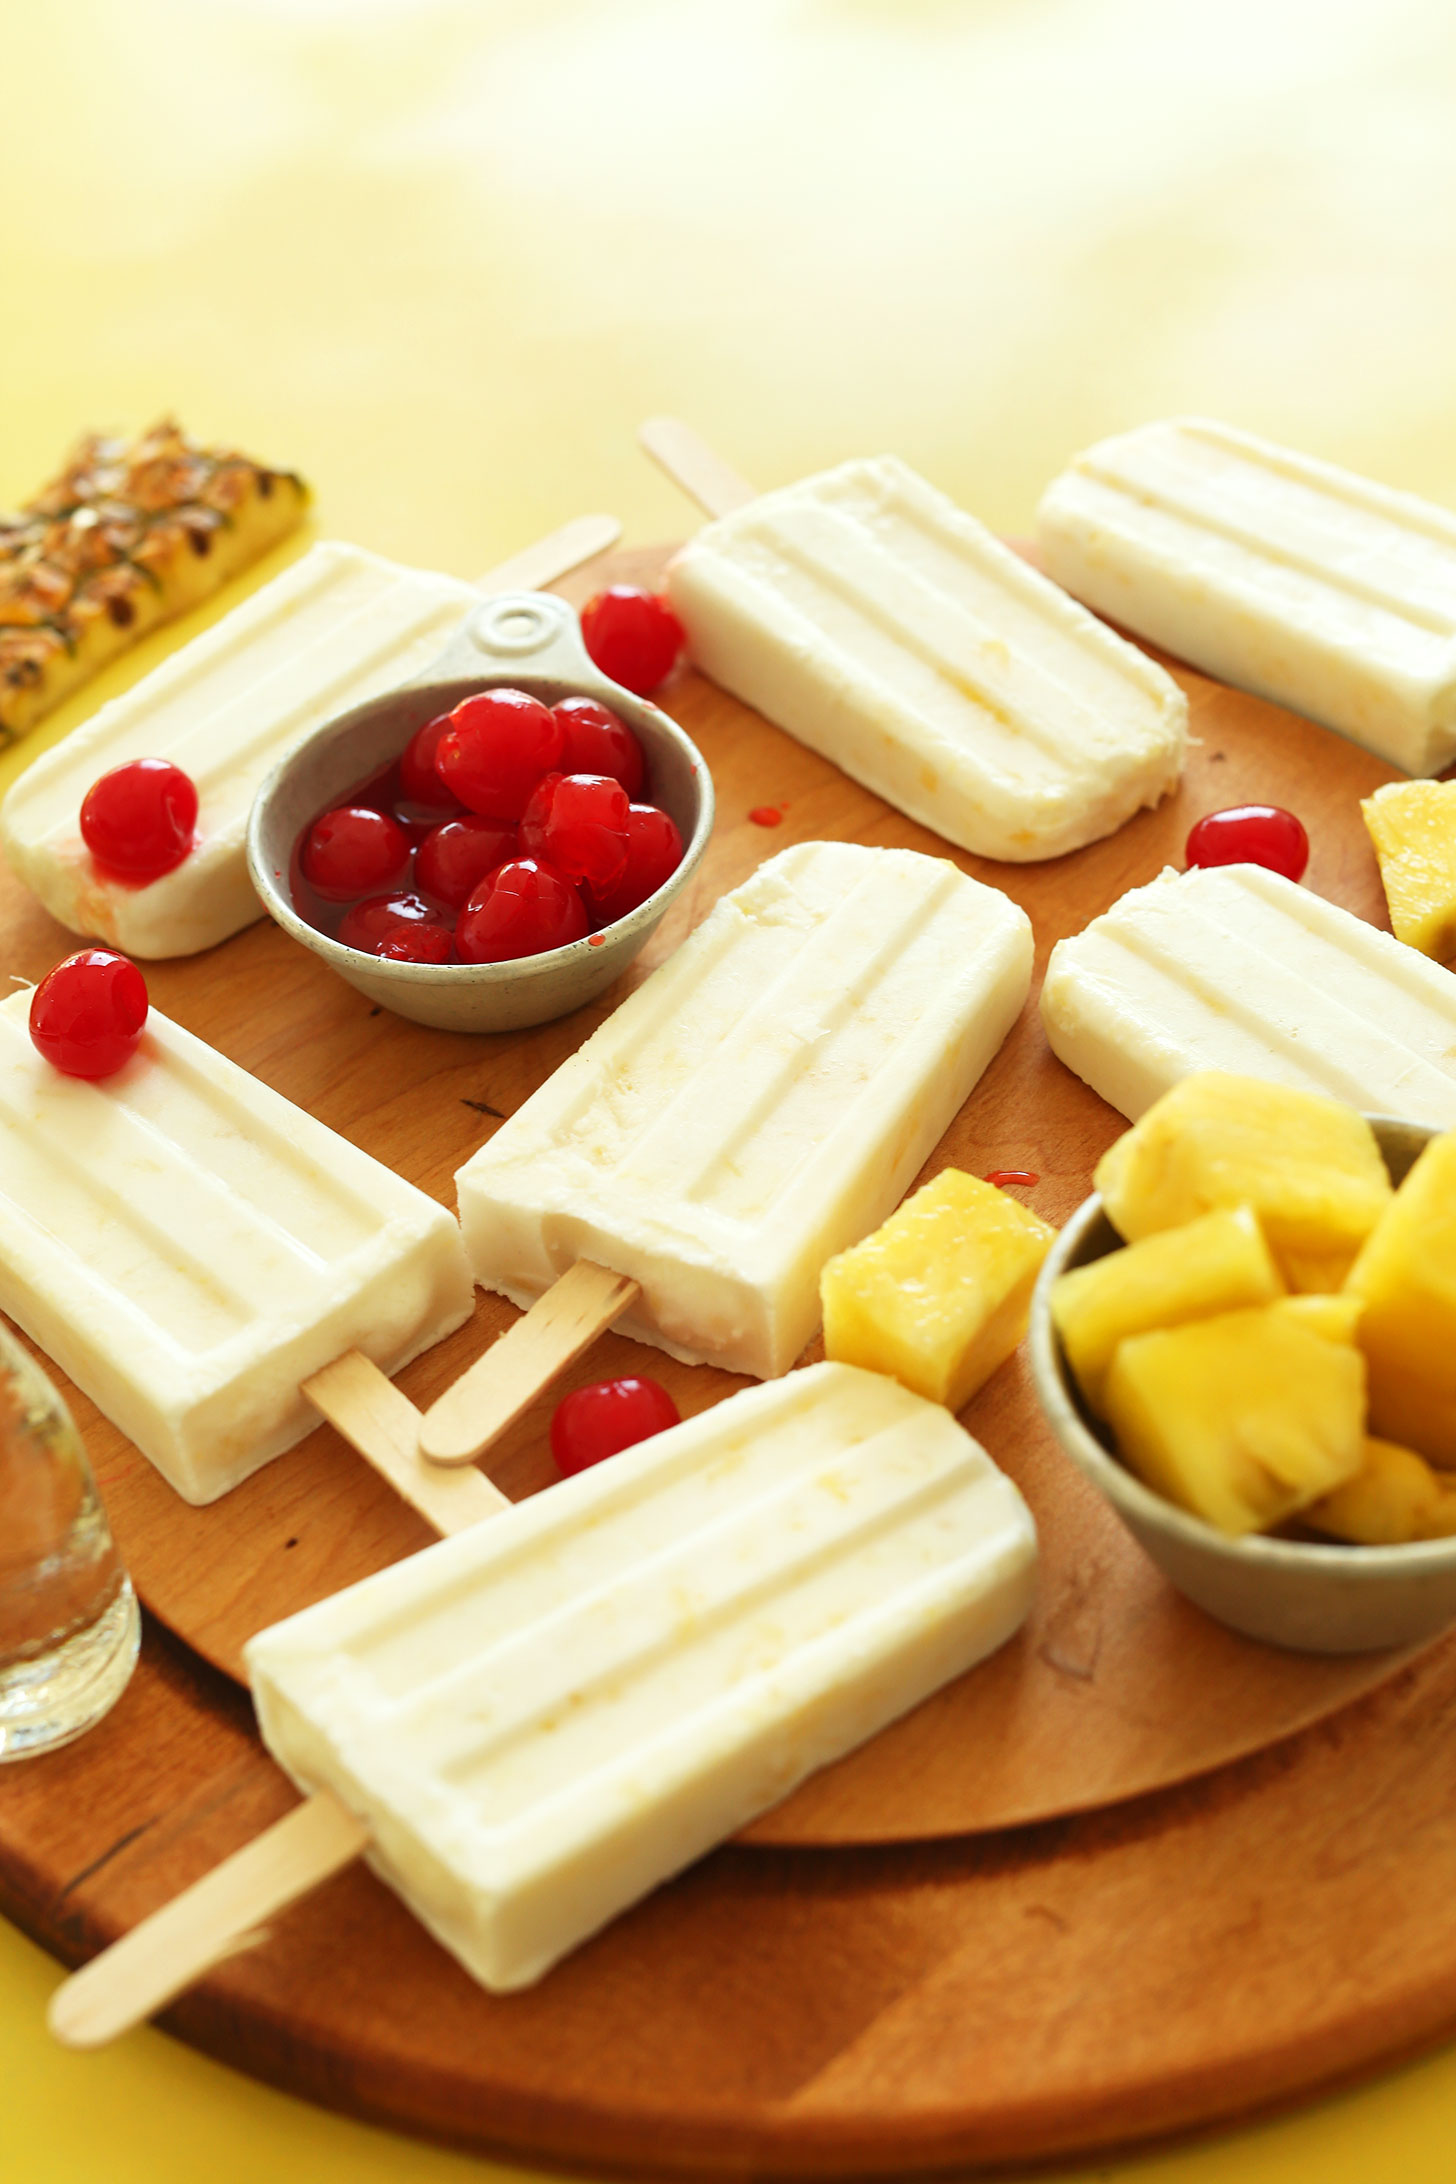
II. Benefits of Making Pina Colada Popsicles at Home
:max_bytes(150000):strip_icc()/__opt__aboutcom__coeus__resources__content_migration__serious_eats__seriouseats.com__2020__08__20200824-virgin-pina-colada-popsicles-vicky-wasik-2-a686e05e71734392926c05f6d7d9c7f0.jpg)
Making your own Pina Colada popsicles at home comes with a plethora of benefits that will surely entice you to give it a try. Not only are these frozen treats delicious and refreshing, but they also offer several advantages over store-bought options.
1. Customizable Ingredients
By preparing your own Pina Colada popsicles, you have complete control over the ingredients used. You can choose to use fresh pineapple chunks and coconut milk instead of artificial flavors or preservatives commonly found in pre-packaged versions. This way, you can ensure that you’re enjoying a healthier and more natural treat.
2. Healthier Alternative
Pina Colada popsicles made at home can be tailored to suit specific dietary needs or preferences. For example, if you are lactose intolerant or following a vegan lifestyle, you can easily substitute regular milk with almond milk or any other non-dairy alternative without compromising on taste.
3. Cost-Effective Option
Besides being healthier, making your own Pina Colada popsicles is also cost-effective in the long run. While buying them from stores may seem convenient initially, the expenses add up over time. By investing in some simple ingredients and molds upfront, you’ll be able to enjoy homemade popsicles whenever cravings strike without breaking the bank.
4. Fun Activity for All Ages
Making Pina Colada popsicles at home is not just about producing tasty treats; it’s also an enjoyable activity for kids and adults alike! It provides an opportunity to involve your family members or friends in the process of creating something delicious together while spending quality time bonding.
5. Endless Flavor Combinations
Once you’ve mastered the art of making Pina Colada popsicles, you can experiment with various flavor combinations. For instance, you can add chunks of fresh mango or strawberries to give your popsicles a fruity twist. The possibilities are endless, allowing you to create unique and exciting flavors that cater to your taste buds.
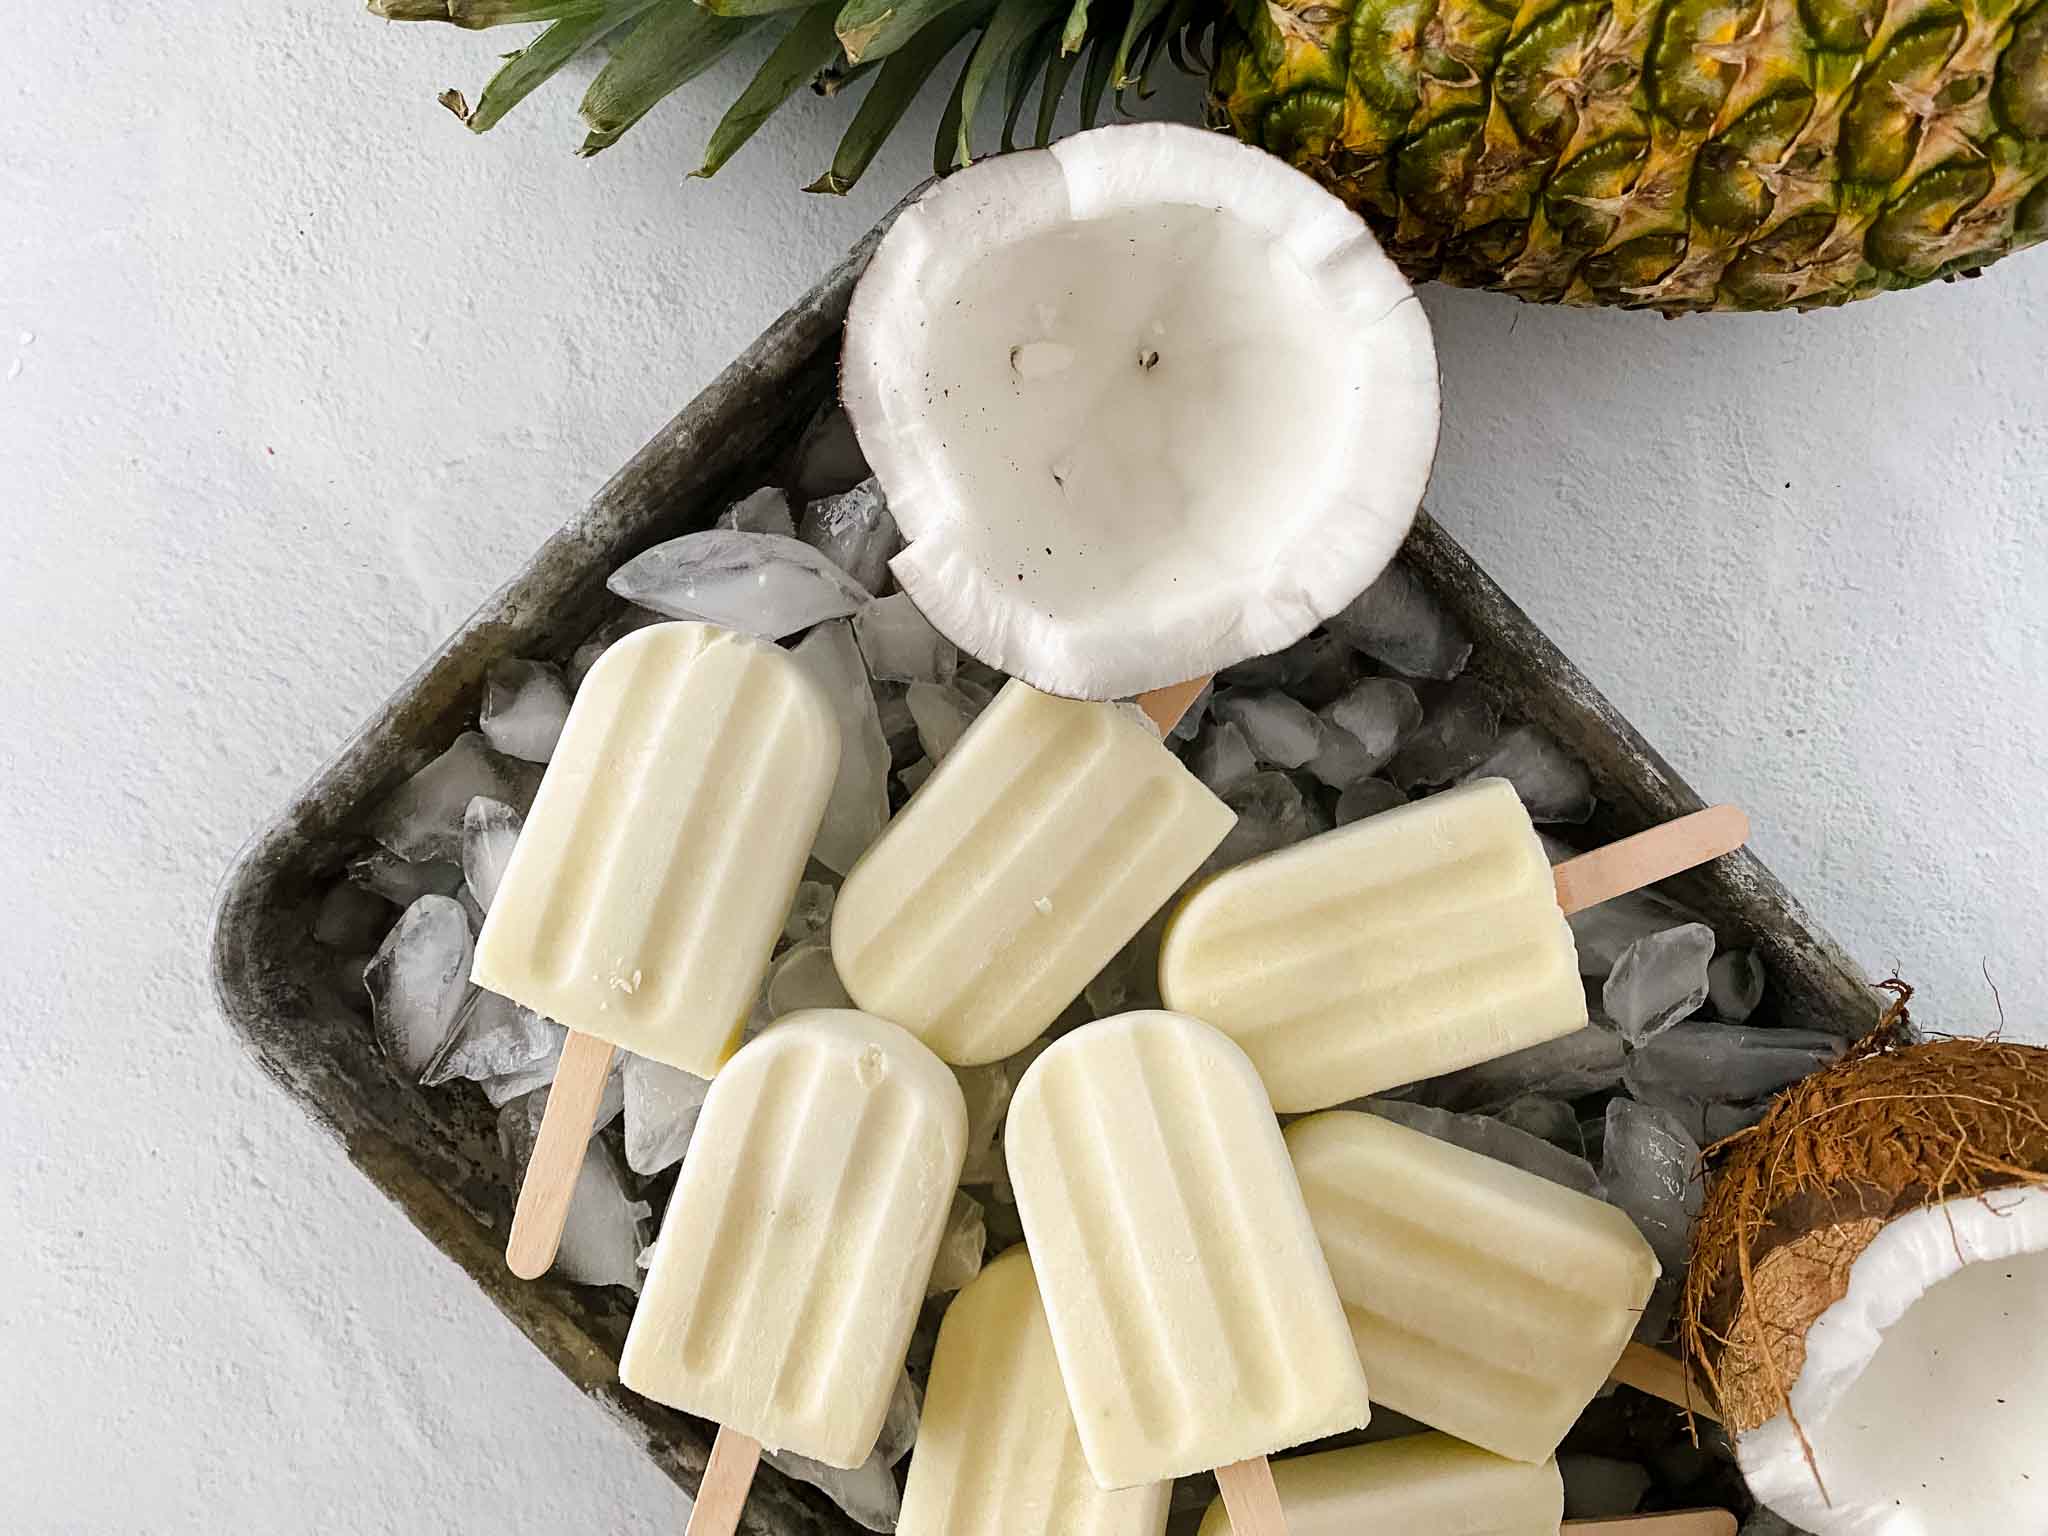
III. Essential Ingredients for Homemade Pina Colada Popsicles
When it comes to making delicious and refreshing homemade pina colada popsicles, you’ll need a few essential ingredients to bring out that tropical flavor. Here are the key components that will make your popsicles a hit:
Fresh Pineapple Chunks
The star ingredient of any pina colada is undoubtedly pineapple. Opt for fresh pineapple chunks rather than canned ones, as they will provide a burst of natural sweetness and tanginess to your popsicles. Make sure to select ripe pineapples with golden skin color and a sweet aroma.
Creamy Coconut Milk
To achieve that creamy and luscious texture in your popsicles, coconut milk is essential. Look for full-fat coconut milk as it contains higher fat content, resulting in a richer mouthfeel. Shake the can before using it to ensure the thick cream has mixed well with the liquid.
Sweetened Condensed Milk
Add an extra touch of sweetness to your pina colada popsicles by incorporating sweetened condensed milk into the mix. This thick and sticky dairy product not only enhances the overall taste but also helps bind all the flavors together.
Splash of Rum (Optional)
If you’re looking for an adult twist on these frozen treats, adding a splash of rum can take your homemade pina colada popsicles up a notch. Be sure not to overdo it; just one or two tablespoons should suffice.
Pure Vanilla Extract
A hint of vanilla extract can elevate the flavor profile of your popsicles by adding depth and complexity. Use pure vanilla extract rather than imitation versions for an authentic taste experience.
Fresh Lime Juice
For a touch of zesty brightness, squeeze some fresh lime juice into your pina colada popsicle mixture. The acidity will help balance the sweetness of the other ingredients and provide a refreshing tang.
Pinch of Salt
Don’t forget to add a pinch of salt to enhance all the flavors in your homemade popsicles. Salt acts as a flavor enhancer and helps bring out the natural sweetness of the pineapple while reducing any bitterness.
By combining these essential ingredients together, you’ll achieve perfectly balanced homemade pina colada popsicles that are bursting with tropical flavors. Experiment with different ratios to find your preferred level of sweetness and creaminess. Now, it’s time to enjoy these delightful frozen treats under the sun!
IV. Step-by-Step Guide to Making Homemade Pina Colada Popsicles
Are you ready to embark on a refreshing tropical journey right in the comfort of your own home? Follow this step-by-step guide to create delicious homemade pina colada popsicles that will transport your taste buds to a sunny beach paradise.
Gather Your Ingredients
The first step is gathering all the necessary ingredients for your homemade pina colada popsicles. You will need:
- 1 cup of pineapple chunks
- 1 cup of coconut milk
- 1/4 cup of white rum (optional)
- 2 tablespoons of honey or sugar
- Popsicle molds and sticks
Blend Until Smooth
Add the pineapple chunks, coconut milk, rum (if desired), and honey or sugar into a blender. Blend until you achieve a smooth consistency. Make sure all the ingredients are well combined.
Pour into Popsicle Molds
Carefully pour the blended mixture into popsicle molds, leaving a little space at the top for expansion during freezing. If using wooden popsicle sticks, insert them into each mold according to instructions.
Add Some Flair (Optional)
If you want to take your homemade pina colada popsicles up a notch, consider adding some extra flair before freezing them. You can sprinkle shredded coconut on top or insert small pieces of fresh pineapple into each mold for an added burst of flavor and texture.
Freeze Until Solidified
Place the filled popsicle molds in the freezer and allow them to freeze until solid. This usually takes around 4-6 hours, but it’s best to leave them overnight for optimal results.
Enjoy Your Tropical Treat
Once the popsicles are completely frozen, remove them from the molds by running warm water over the bottom of each mold. Gently pull on the sticks to release the popsicles. Now, sit back, relax, and savor every bite of your homemade pina colada popsicles. Indulge in their creamy coconut and sweet pineapple flavors as they transport you to a tropical paradise.
Remember to store any leftover popsicles in an airtight container or plastic bag in the freezer for future enjoyment.
Bask in the satisfaction of creating your own refreshing summer treat that will impress friends and family alike. The step-by-step guide above ensures that you can easily make these delightful homemade pina colada popsicles whenever you desire a taste of paradise.
V. Variations and Additions to Homemade Pina Colada Popsicles
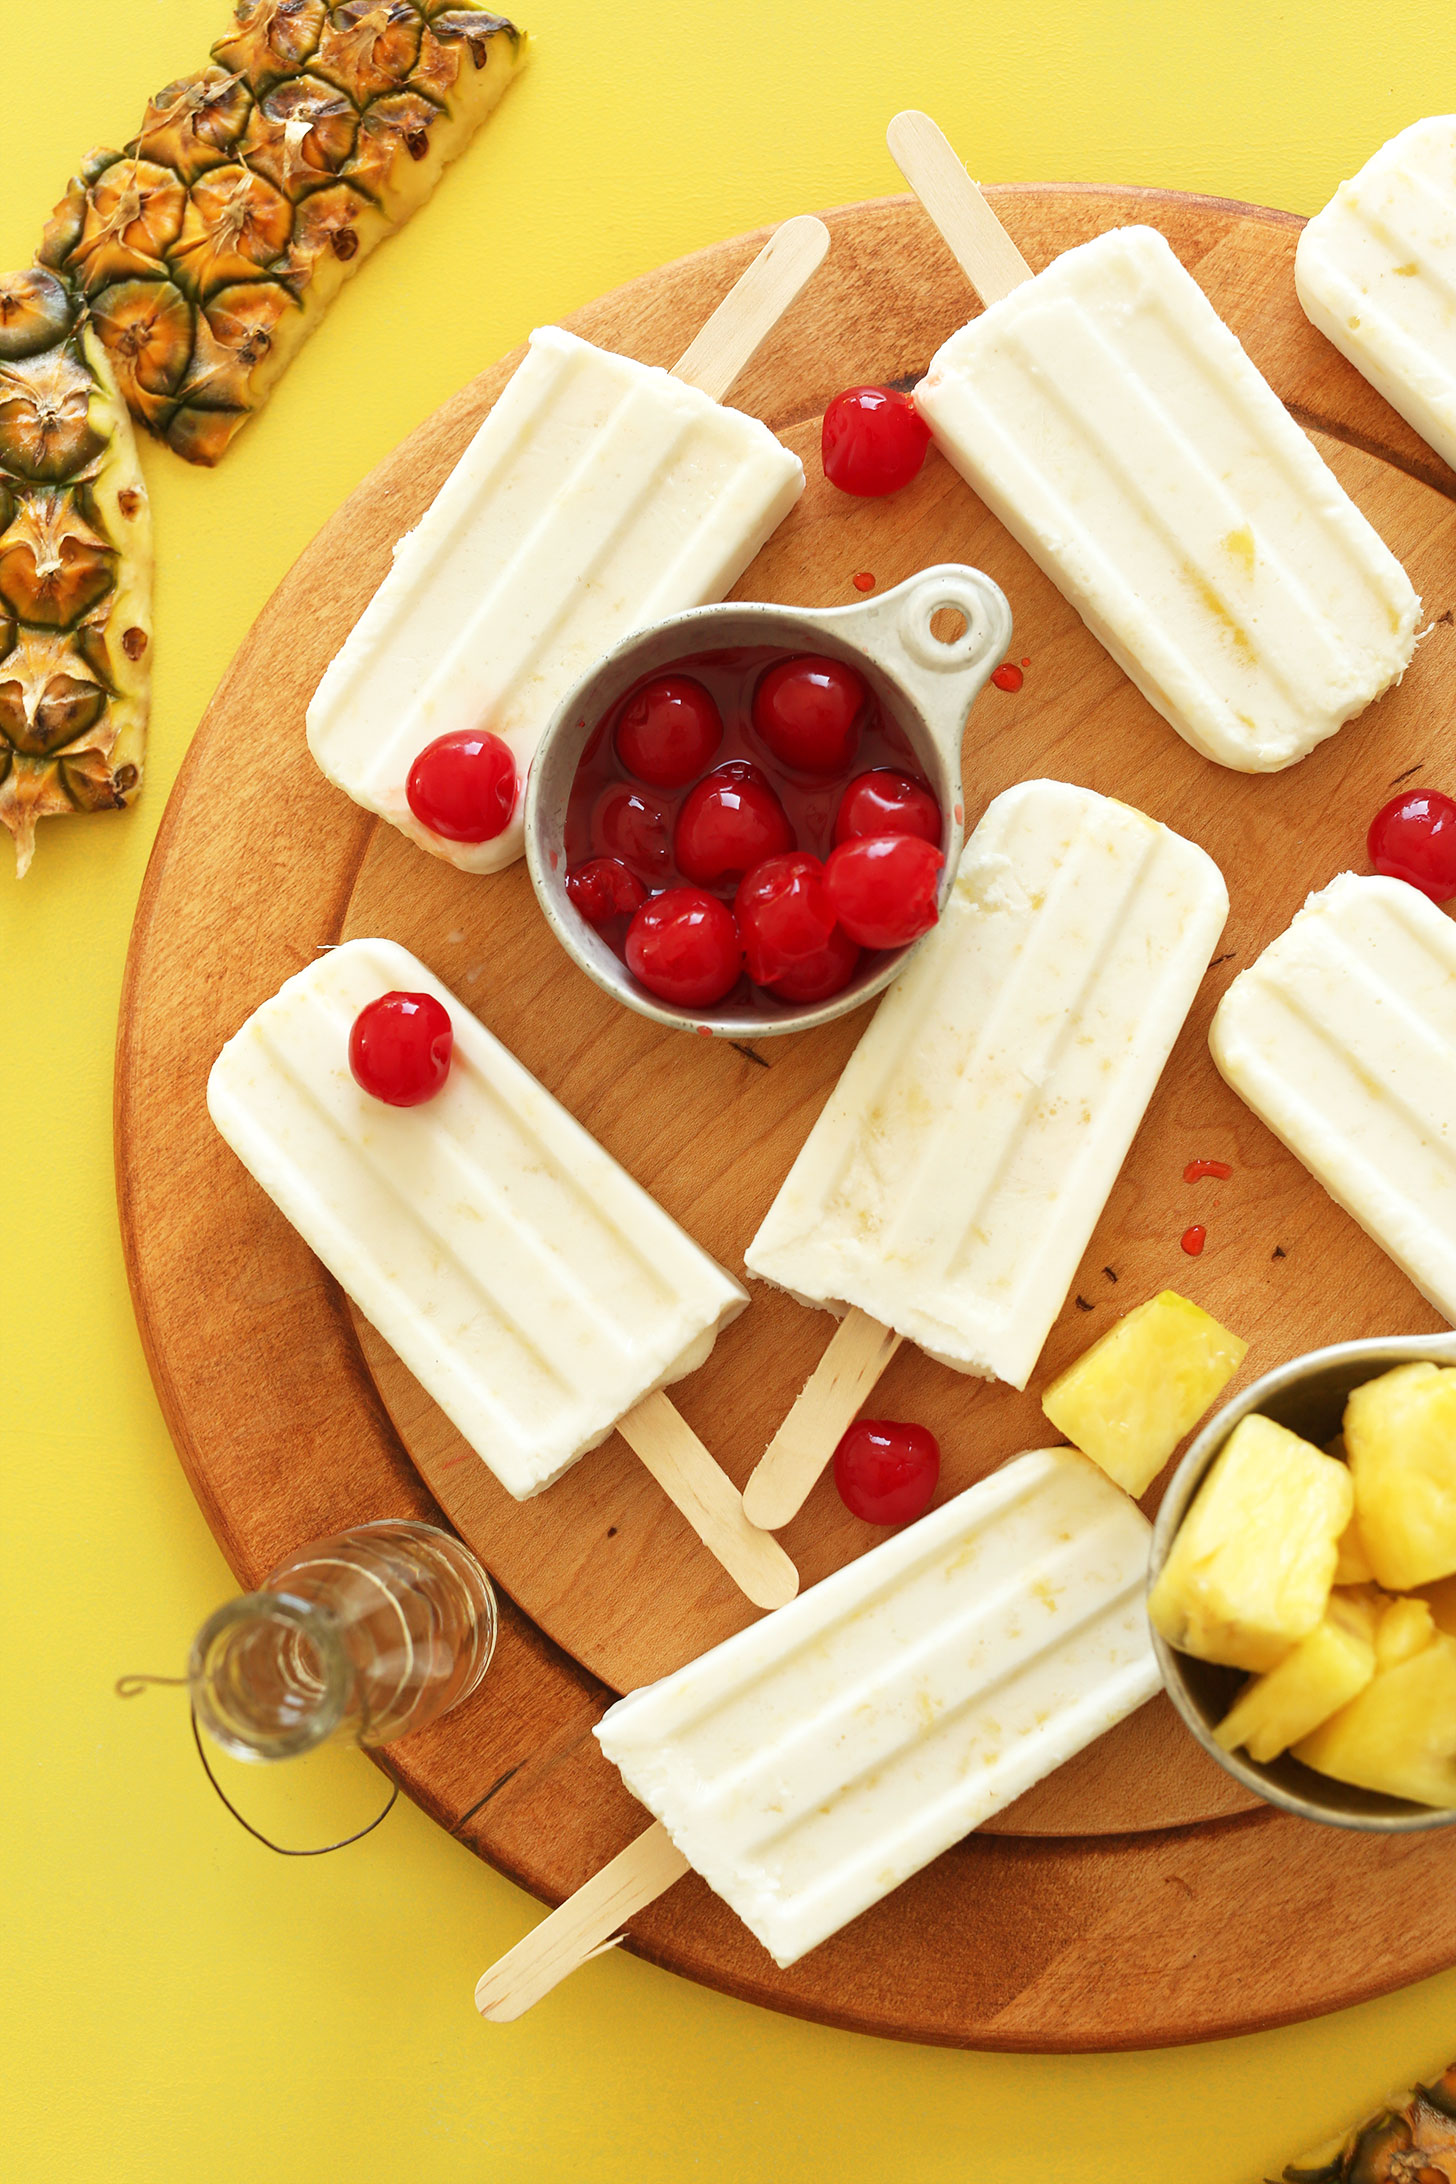
While the classic recipe for homemade pina colada popsicles is undoubtedly delicious, there are several variations and additions you can try to add a unique twist to these frozen treats. Get creative with flavors and textures by experimenting with these ideas:
1. Tropical Fruit Medley
Add a burst of tropical flavors by incorporating a medley of fruits into your pina colada popsicles. Chop up fresh mangoes, pineapples, or even papayas and mix them into the coconut milk mixture before pouring it into the molds. The combination of creamy coconut and tangy fruits will transport your taste buds straight to paradise.
2. Boozy Twist
If you’re looking for an adult version of pina colada popsicles, consider adding a splash of rum or tequila to the mixture before freezing it. Remember not to go overboard with alcohol content as it can affect the texture of the popsicle. A subtle hint of liquor will elevate these frozen treats and make them perfect for parties or relaxing by the pool.
3. Chocolate Dipping Sauce
Add an indulgent touch by serving your homemade pina colada popsicles with a rich chocolate dipping sauce on the side. Melt some dark chocolate in a double boiler, drizzle it over each pop, and let it harden slightly before enjoying this decadent combination.
4. Toasted Coconut Topping
Giving your popsicles an extra layer of texture is as simple as adding toasted coconut flakes on top before freezing them completely. Not only does this addition provide a satisfying crunch, but it also enhances the tropical flavor profile.
5. Pineapple Upside-Down Variation
Add a fun twist to your pina colada popsicles by creating a pineapple upside-down variation. Before pouring the coconut milk mixture into the molds, place a small slice of pineapple and a maraschino cherry at the bottom of each mold. The result will be an upside-down treat that surprises with every bite.
These variations and additions to homemade pina colada popsicles offer endless possibilities for customization. Feel free to mix and match different ideas or come up with your own unique creations. Let your taste buds guide you as you explore the wonderful world of frozen tropical delights!
VI. Tips and Tricks for Perfect Homemade Pina Colada Popsicles
Creating delicious homemade pina colada popsicles is easier than you think. With a few simple tips and tricks, you can elevate your frozen treat game to a whole new level. Here are some expert suggestions to help you make the perfect homemade pina colada popsicles:
1. Use Fresh Pineapple
To achieve that authentic tropical flavor, opt for fresh pineapple instead of canned or processed alternatives. The juicy sweetness of fresh pineapple will infuse your popsicles with an irresistible taste.
2. Blend Until Smooth
When preparing the mixture for your pina colada popsicles, ensure that you blend all the ingredients until smooth and well combined. This will give your popsicles a creamy texture and prevent any unwanted ice crystals from forming.
3. Add Coconut Cream
To enhance the richness of your pina colada popsicles, consider adding coconut cream to the mixture. This will provide a velvety smoothness that perfectly complements the tanginess of pineapple.
4. Sweeten to Taste
Taste preferences vary, so adjust the sweetness of your popsicle mixture according to personal preference by adding sugar or honey if desired. Remember, though, that freezing dulls sweetness slightly; therefore, it’s best to slightly over-sweeten prior to freezing.
5. Garnish with Toasted Coconut Flakes
Elevate both visual appeal and texture by garnishing your finished pina colada popsicles with toasted coconut flakes before they freeze completely solidify in their molds.
6.Squeeze Lemon Juice for Brightness (optional)
If you prefer a tangier flavor, consider adding a splash of lemon juice to your pina colada popsicle mixture. The acidity will provide an extra burst of brightness that complements the sweetness of the pineapple and coconut flavors.
7. Use High-Quality Popsicle Molds
Investing in high-quality popsicle molds is essential for achieving perfectly shaped and easy-to-release homemade popsicles. Look for molds made with durable materials that are easy to clean.
8. Allow Ample Freezing Time
To ensure your pina colada popsicles freeze properly, allow them ample time in the freezer. It’s recommended to let them freeze overnight or for at least six hours before enjoying their refreshing goodness.
By following these tips and tricks, you’ll be able to create mouthwatering homemade pina colada popsicles that transport you straight to a tropical paradise with every lick or bite!
VII. Frequently Asked Questions about Homemade Pina Colada Popsicles
1. Can I substitute the coconut milk with any other liquid?
Yes, you can substitute the coconut milk with almond milk, cashew milk, or even regular cow’s milk if you prefer. However, using coconut milk will give the popsicles that authentic tropical flavor.
2. Are these popsicles suitable for vegans?
Absolutely! As long as you use a plant-based sweetener like agave syrup or maple syrup instead of honey, these homemade pina colada popsicles are vegan-friendly.
3. Can I add chunks of fruit to the popsicle mixture?
Absolutely! Feel free to add small chunks of pineapple or even shredded coconut to give your popsicles an extra burst of flavor and texture.
4. How long do these homemade popsicles take to freeze?
The freezing time will depend on your freezer temperature and how full it is, but generally, it takes about 4-6 hours for the pina colada popsicles to freeze completely.
5. Can I use canned pineapple instead of fresh pineapple?
Absolutely! Canned pineapple works just as well in this recipe; just make sure to drain it before blending with other ingredients.
6. How long do homemade pina colada popsicles last in the freezer?
If stored properly in an airtight container or freezer bag, these delicious treats can last up to 2 months in the freezer without losing their flavor or texture.
7. Is it necessary to use rum in this recipe?
No, using rum is optional. If you prefer an alcohol-free version, simply omit the rum from the recipe and enjoy a refreshing virgin pina colada popsicle.
8. Can I double or halve the recipe?
Absolutely! This recipe is easily adjustable. Simply multiply or divide all the ingredients according to your desired quantity.
9. Are these popsicles kid-friendly?
Yes, they are! Kids love these homemade pina colada popsicles because of their sweet and tropical taste. However, if you don’t want to include alcohol, make sure to prepare a separate batch without rum for the little ones.
10. Can I use frozen pineapple instead of fresh?
Yes, using frozen pineapple is a great option as well. Just thaw it slightly before blending with other ingredients for smooth consistency.

Nicole Allen is a highly skilled and passionate content writer, specializing in SEO. With a strong command of the English language, Nicole has honed her writing skills to deliver engaging and informative content to her readers. Her educational background includes a Bachelor’s degree in English Literature from the University of California, Berkeley. Nicole’s love for veganism and sustainable living has fueled her dedication to creating content that promotes a cruelty-free lifestyle. Her extensive knowledge of plant-based nutrition and ethical consumerism allows her to craft compelling articles that inspire and educate readers on the benefits of embracing a vegan lifestyle.